更新记录
2.2(2022-03-22)
1.新增扫描OK、报错、成功提示音。
2.1(2022-03-11)
1.动态设置TSC打印机的标签纸宽度、标签纸高度、和标签纸间隙。
2.0(2021-12-10)
1.优化插件获取位置权限问题,示例项目在onLoad方法里获取权限,而不是onShow方法里,避免初次获取权限时不停调用问题而奔溃。
查看更多平台兼容性
| Android | Android CPU类型 | iOS |
|---|---|---|
| 适用版本区间:4.4 - 13.0 | armeabi-v7a:未测试,arm64-v8a:未测试,x86:未测试 | × |
原生插件通用使用流程:
- 购买插件,选择该插件绑定的项目。
- 在HBuilderX里找到项目,在manifest的app原生插件配置中勾选模块,如需要填写参数则参考插件作者的文档添加。
- 根据插件作者的提供的文档开发代码,在代码中引用插件,调用插件功能。
- 打包自定义基座,选择插件,得到自定义基座,然后运行时选择自定义基座,进行log输出测试。
- 开发完毕后正式云打包
付费原生插件目前不支持离线打包。
Android 离线打包原生插件另见文档 https://nativesupport.dcloud.net.cn/NativePlugin/offline_package/android
iOS 离线打包原生插件另见文档 https://nativesupport.dcloud.net.cn/NativePlugin/offline_package/ios
注意事项:使用HBuilderX2.7.14以下版本,如果同一插件且同一appid下购买并绑定了多个包名,提交云打包界面提示包名绑定不一致时,需要在HBuilderX项目中manifest.json->“App原生插件配置”->”云端插件“列表中删除该插件重新选择
一、实例化插件和提示语插件:
var printModule = uni.requireNativePlugin("ZXA-BluetoothPrinterModule")
const modal = uni.requireNativePlugin('modal');
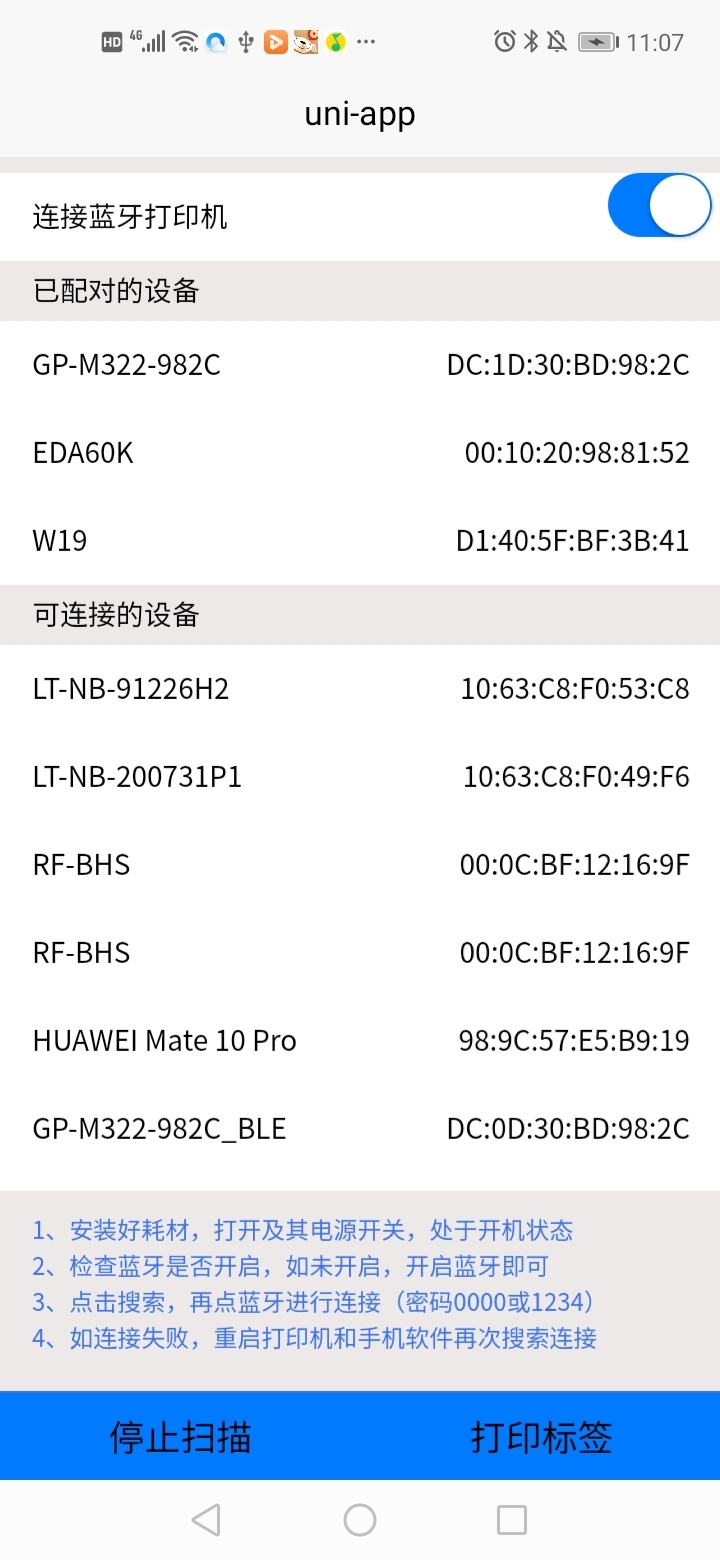
二、初始化蓝牙,连接蓝牙功能,并返回以配对设备
printModule.openBluetooth({
},
(ret) => {
        console.log("ret.data:  " + JSON.stringify(ret.data));
        this.connectionList = ret.data;
});
三、通过蓝牙扫描设备
printModule.scanDevice({},
                (ret) => {
                console.log("ret.data:  " + JSON.stringify(ret.data));

         if (ret.data.endscan == true) {
                            uni.showToast({
                                icon: 'none',
                                title: '扫描结束!'
                            })
                        } else {
                            this.devices.push({
                                devicename: ret.data.devicename,
                                macaddress: ret.data.macaddress,
                            })
                        }
                    });
四、关闭蓝牙扫描
printModule.closeBluetooth();
五、连接选定的蓝牙
uni.showLoading({
title: "蓝牙连接中",
mask: true
});
printModule.connectDevice({
'macaddress': item.macaddress,
'devicename': item.devicename
},
(ret) => {
modal.toast({
message: "蓝牙" + ret.devicename + "---" + ret.macaddress + "---" + ret.state,
duration: 1.5
});
this.currDev = item;
uni.hideLoading();
});
六、传入参数,打印标签
printModule.startPrintLabel({
       'dataArray': this.dataArray
    },
     (ret) => {
});
七、TSC打印机指令
 //打印文本
 //文本说明: TEXT x,y,"font",rotation,x-multiplication,y-multiplication,"content"
 export function  getTextStr (x, y, font, x_, y_, str) {
    var data = "TEXT " + x + "," + y + ",\"" + font + "\"," + 0 + "," + x_ + "," + y_ + "," + "\"" + str + "\"\r\n";
    return data;
}

//打印条形码
//条形码说明:  BARCODE x,y,"code type",height,human readable,rotation,narrow,wide,"content"
export function  getBarStr (x, y, codetype, height, readable, narrow, wide, content) {
    var data = "BARCODE " + x + "," + y + ",\"" + codetype + "\"," + height + "," + readable + "," + 0 + "," + narrow + "," + wide + ",\"" + content + "\"\r\n";
    return data;
}

//画线
//画线说明: BAR x,y,width,height
export function  getBarLineStr (x, y, width, height) {
    var data = "BAR " + x + "," + y + "," + width + "," + height + "\r\n";
    return data;
}

//打印二维码
//二维码说明: QRCODE x,y,ECC level,cell width,mode,rotation,"data string"
export function  getQRCodeStr (x, y, level, width, mode, content) {
    var data = "QRCODE " + x + "," + y + "," + level + "," + width + "," + mode + "," + 0 + ",\"" + content + "\"\r\n"
    return data;
}
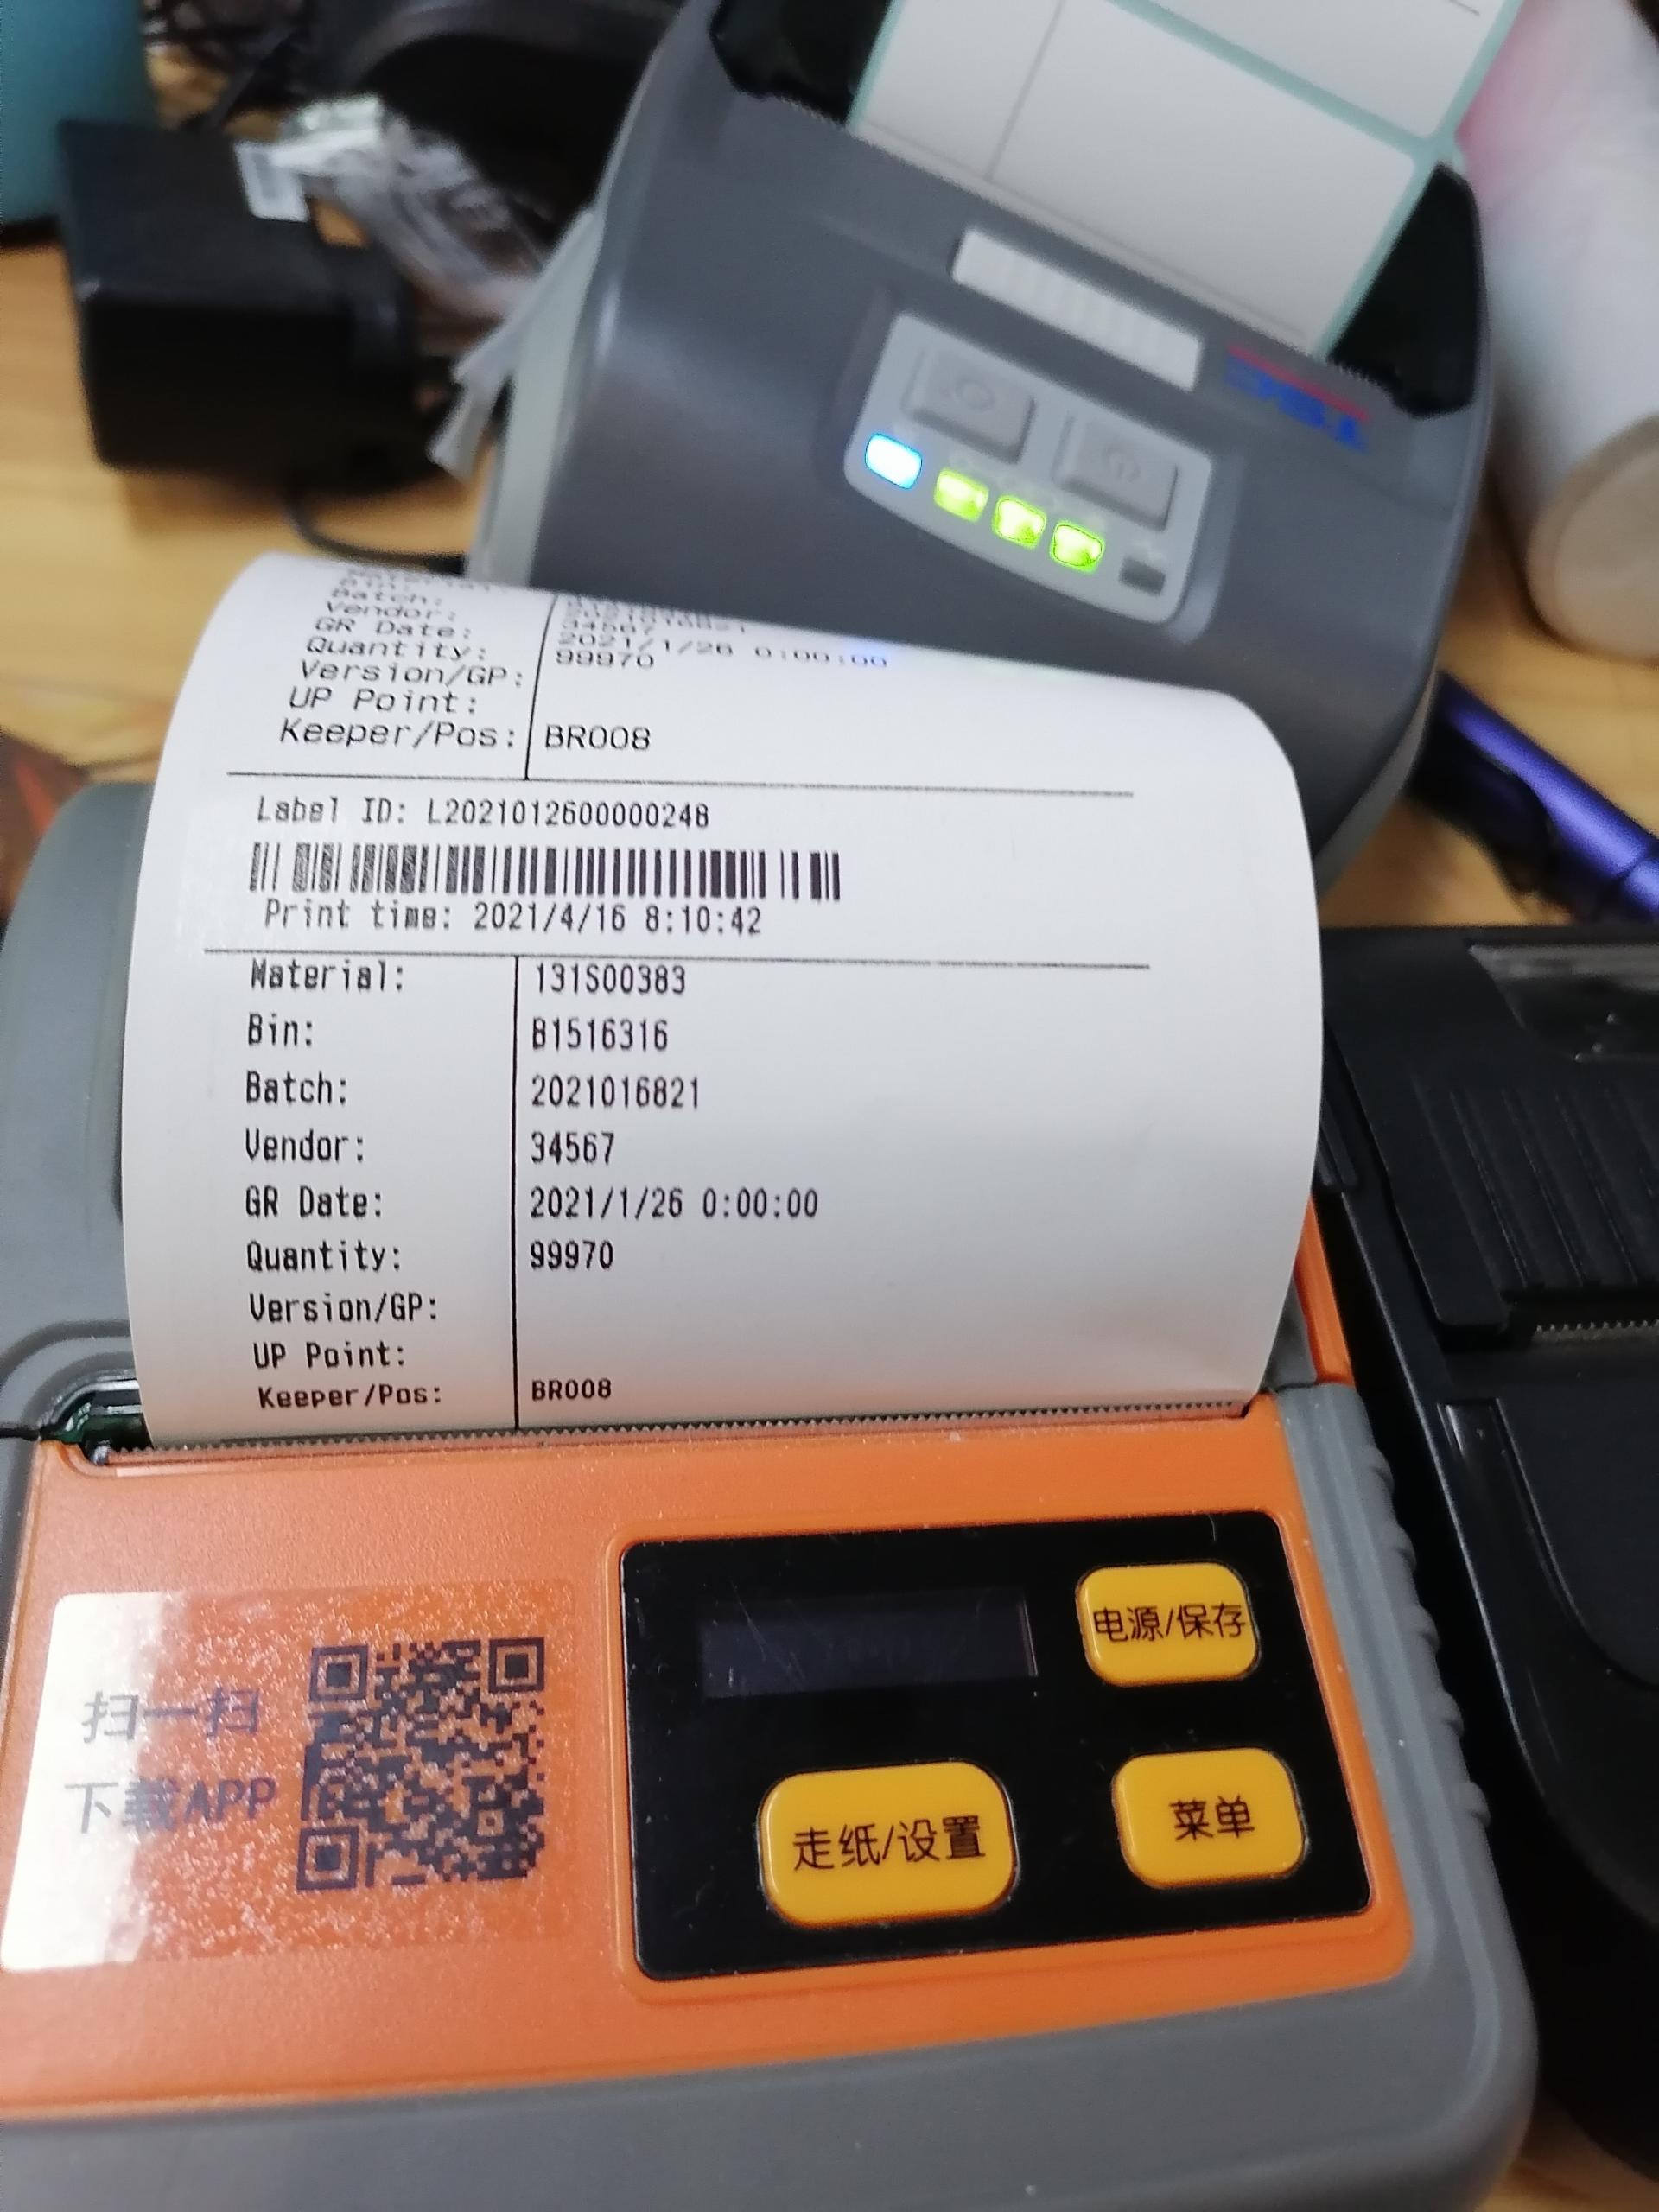
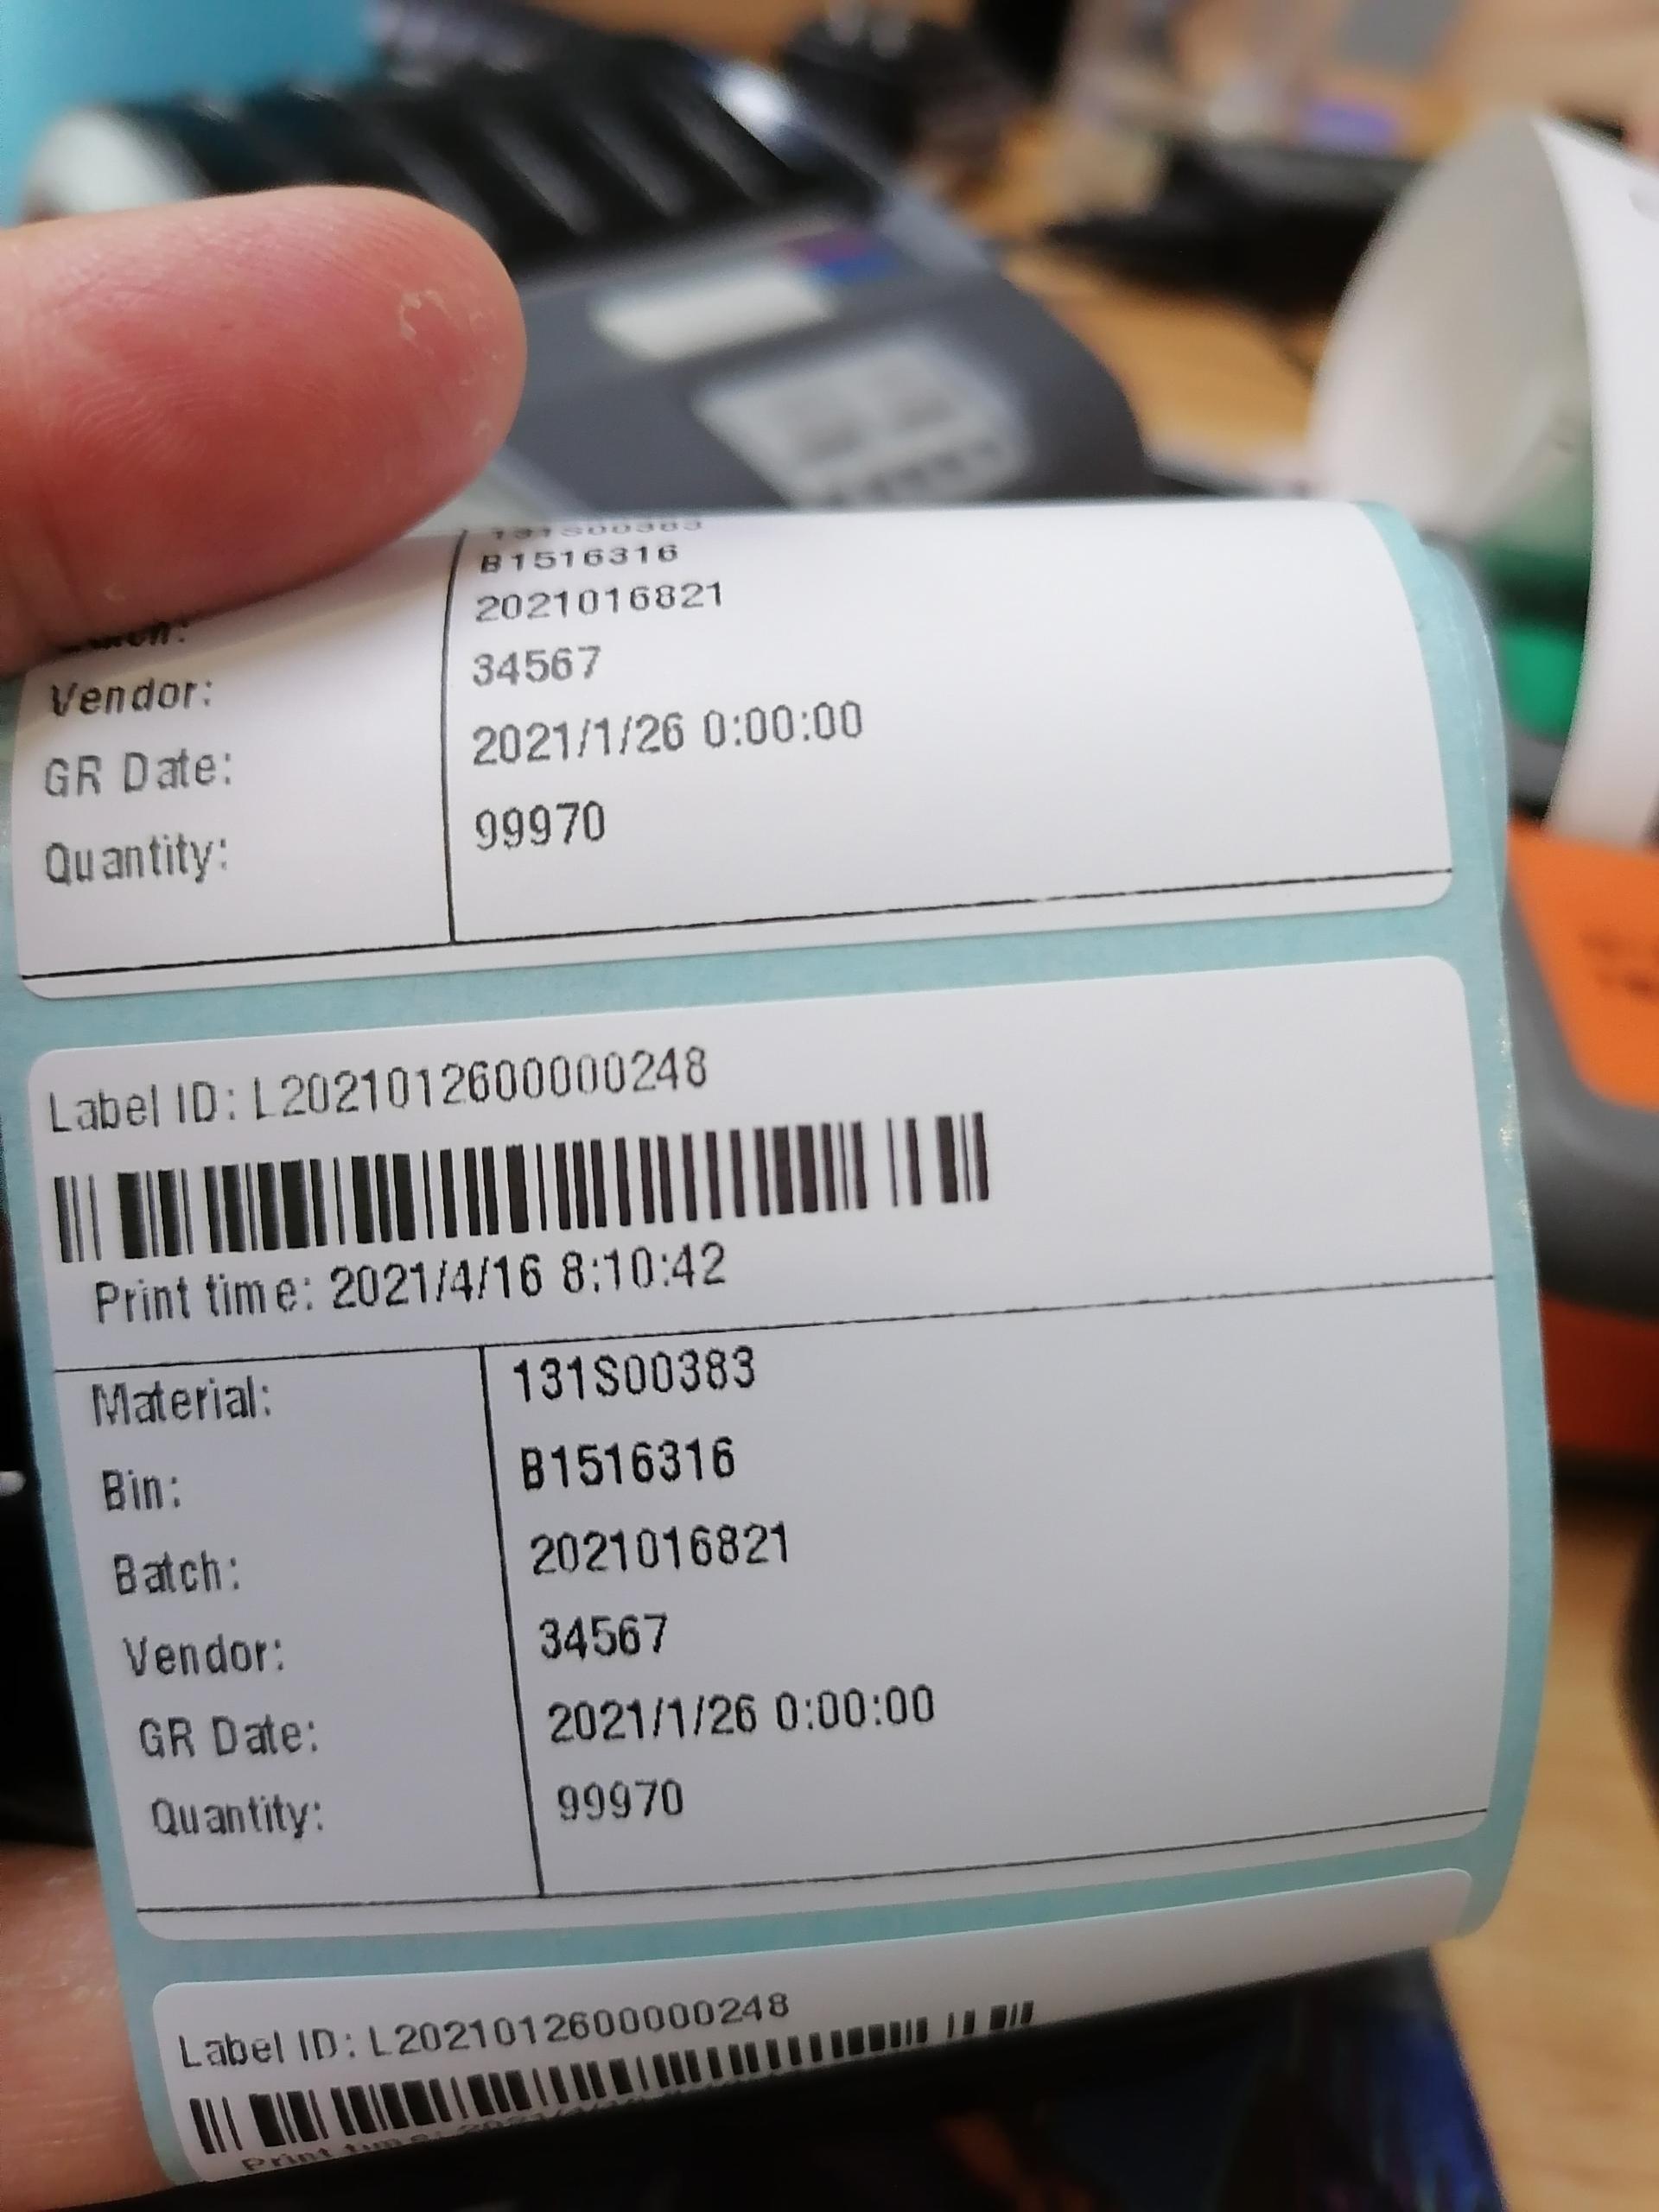
八、TSC打印机将指令添加到打印的data中,传输到插件方法中
 //初始化dataArray
 //设置打印宽度、高度、打印纸的间隙,添加打印文本
this.dataArray.push({
                printwidth:75,
                printheight:42,
                printgap:0,
                printkey: getTextStr(50, 10, "ROMAN.TTF", 7, 7, labelTitle)
            })
//添加打印文本
this.dataArray.push({
     printkey: getTextStr(50, 50, "ROMAN.TTF", 7, 7, labelIdStr)
}) ;
//添加二维码
this.dataArray.push({
        printkey: getQRCodeStr(390, 80, "L", 4, "A", "L2021012600000733")
}) ;

//添加画线
this.dataArray.push({
        printkey: getBarLineStr(30,170,500,2)
}) ;
九、ESC打印机指令
 //打印文本
 //ESC打印数据格式
this.escDataArray.push({
        printType: "text",
        printContent: "万达广场欢迎您",
        textAlign: "center",   //left:居左对其  center:居中对其  right:居右对齐
        size: "max"  //max:大   normal:正常大小
});

//打印一维条形码
this.escDataArray.push({
        printType: "barcode",
        printContent: "2019563352660",
        textAlign: "center",   //left:居左对其  center:居中对其  right:居右对齐
});

//打印二维码
this.escDataArray.push({
        printType: "qrcode",
        printContent: "2019563352660",
        textAlign: "center",  //left:居左对其  center:居中对其  right:居右对齐
});

//打印本地图片
var filePath = plus.io.convertLocalFileSystemURL("static/logo.png");
this.escDataArray.push({
        printType: "image",
        typeName: "local",
        printContent: filePath,
        textAlign: "center",
});

//打印网络图片
this.escDataArray.push({
        printType: "image",
        typeName: "network",
        printContent: "http://www.html5-app.com/gprinter.png",
        textAlign: "center",
});

//切纸命令
this.escDataArray.push({
        printType: "cutPaper",
});
十、CPCL打印机指令
 //打印文本
 //CPCL打印数据格式
 this.cpclDataArray.push({
      printType: "text",
      printContent: "Sample", //打印内容
      textAlign: "center", //left:居左对其  center:居中对其  right:居右对齐
      coordinateX: 0, //坐标X
      coordinateY: 30, //坐标Y
      height: 730,
      qty: 1,
      magWidth: 1,//放大或缩小的倍数
      magHeight: 1//放大或缩小的倍数
 });

//打印文本
this.cpclDataArray.push({
          printType: "text",
            printContent: "这是CPCL打印指令",
            textAlign: "left",
            coordinateX: 30,
            coordinateY: 65,
});

this.cpclDataArray.push({
            printType: "text",
            printContent: "你好,欢迎使用CPCPL指令打印",
            textAlign: "left", //不需要就传空字符串
            coordinateX: 30,
            coordinateY: 95,
});

//打印一维条码
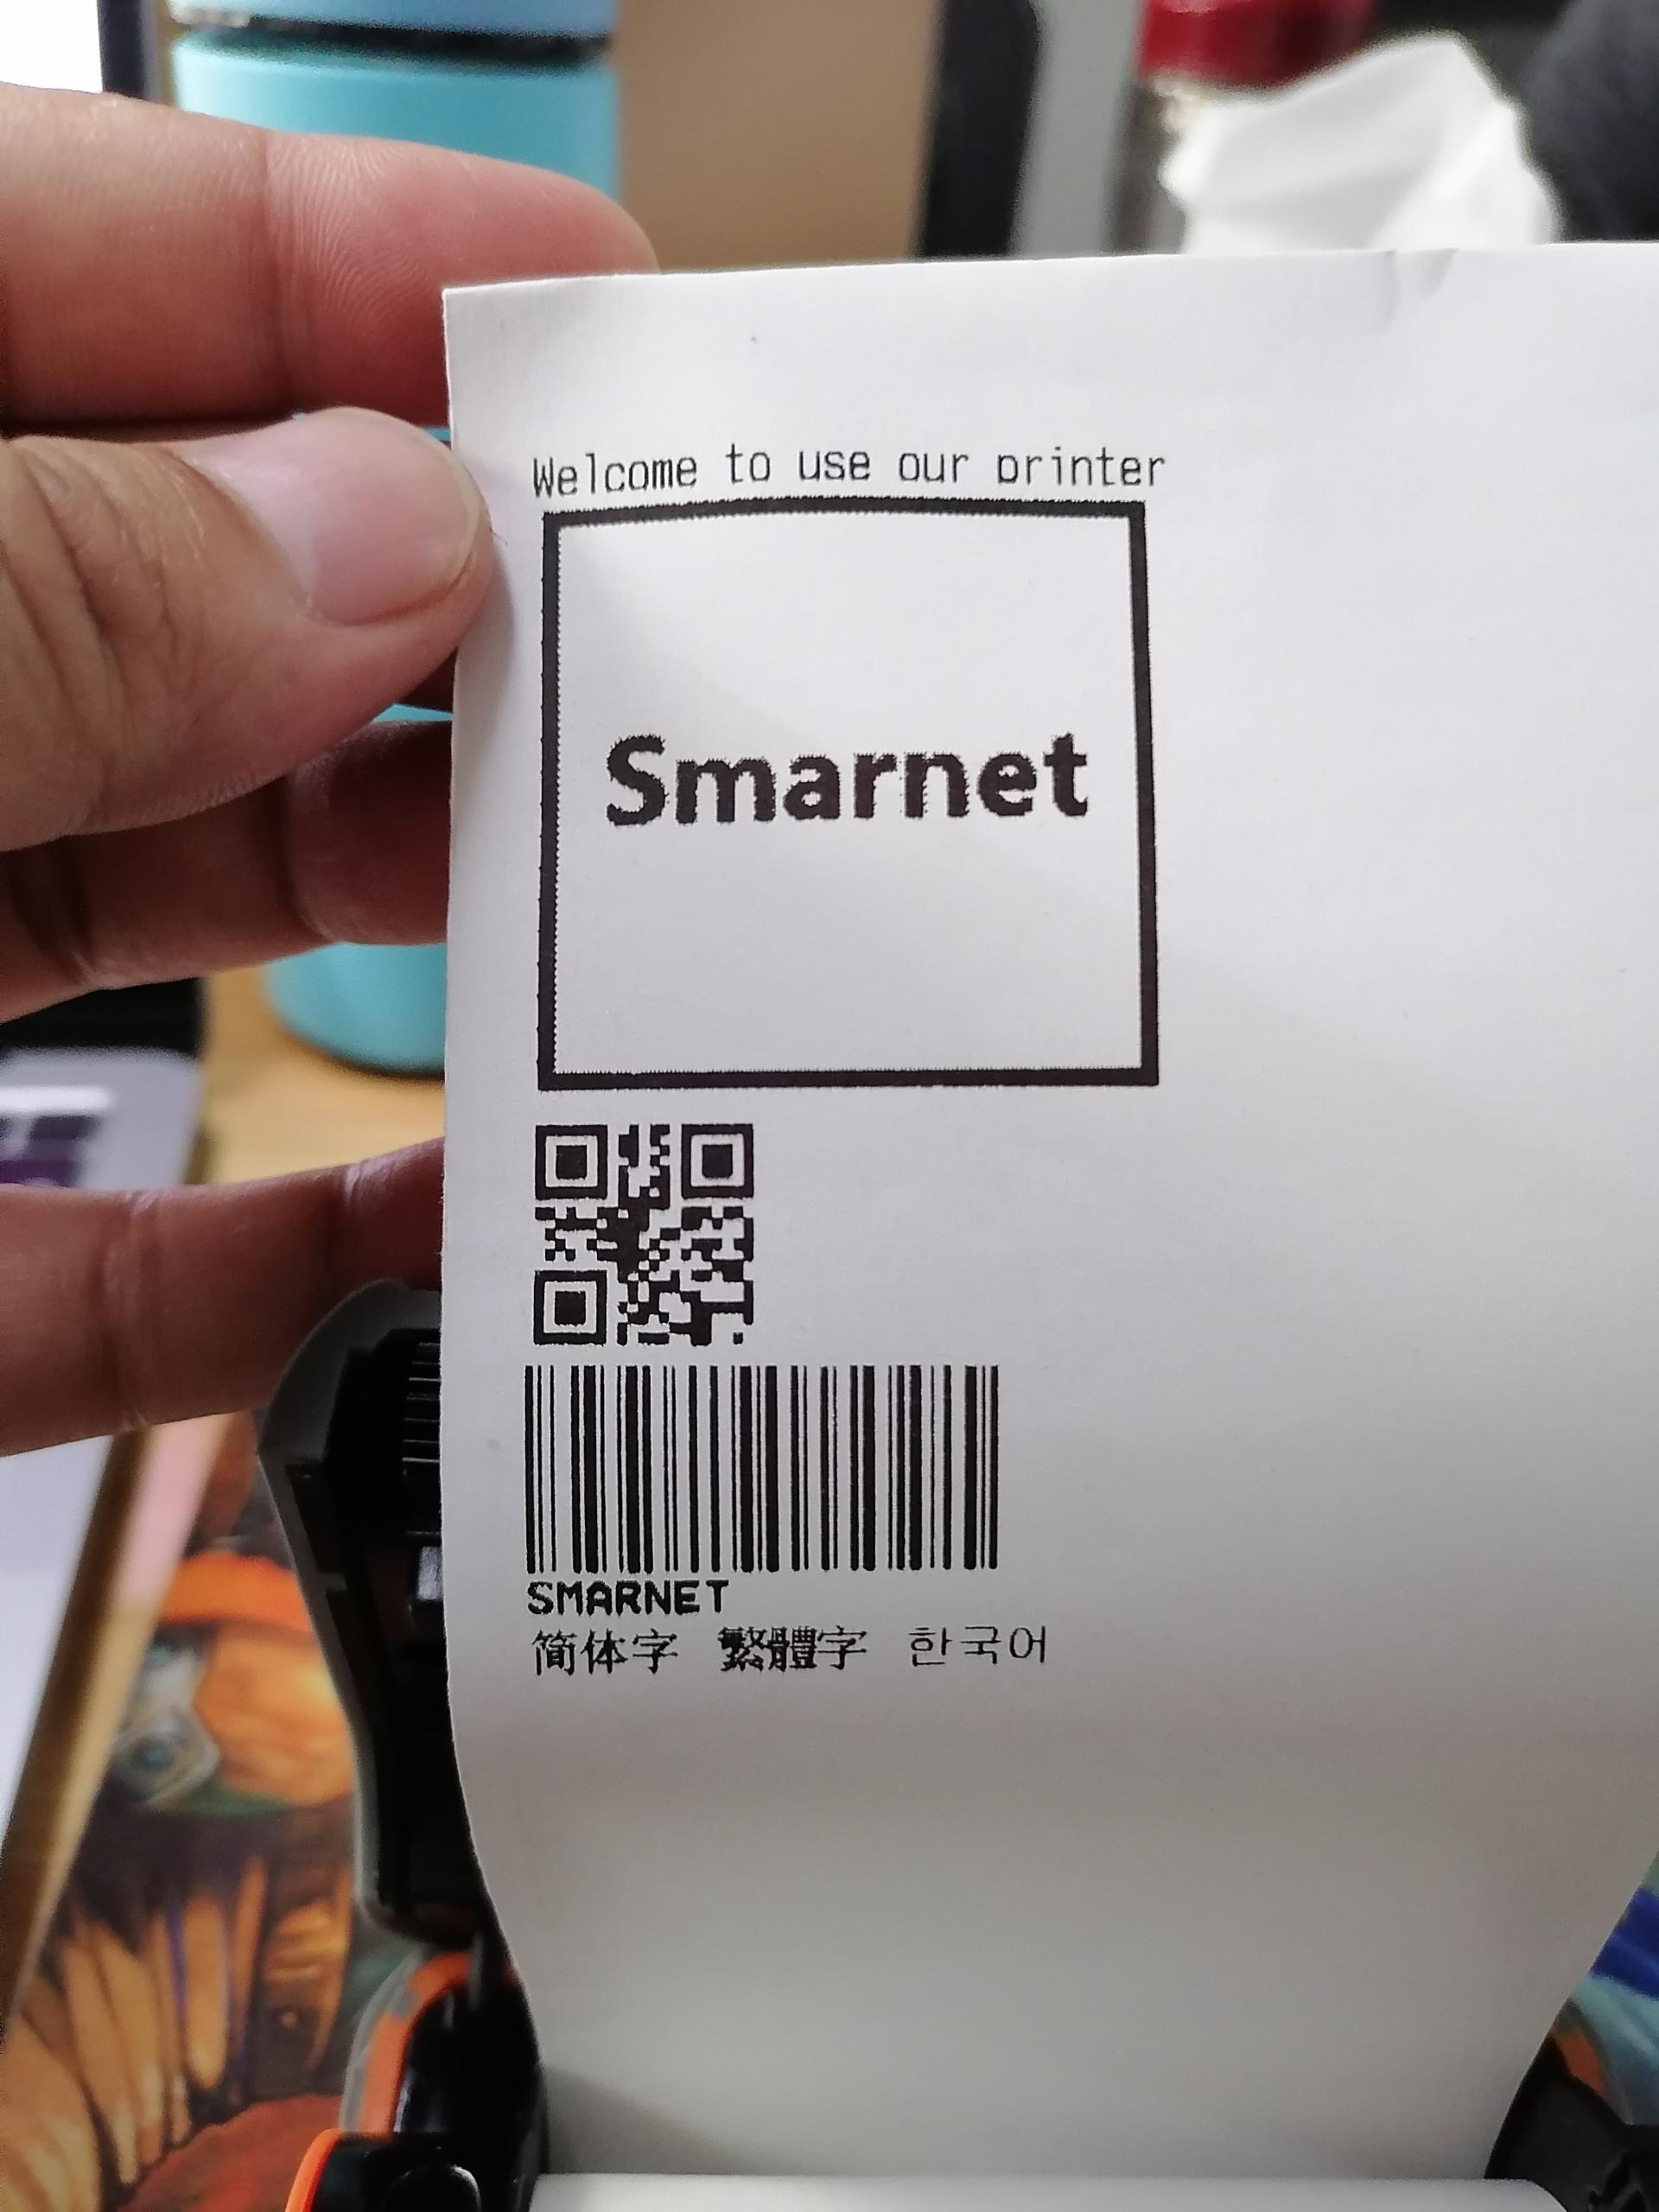
this.cpclDataArray.push({
            printType: "barcode",
            printContent: "SMARNET",
            coordinateX: 30,
            coordinateY: 280,
            barcodeHeight: 50,
            barfont: 5,
            offset: 2
});

//二维条码
this.cpclDataArray.push({
        printType: "qrcode",
        printContent: "QRcode",
        coordinateX: 30,
        coordinateY: 410,
});

 收藏人数:
收藏人数:
 购买(
购买( 试用
试用
 使用 HBuilderX 导入示例项目
 赞赏(0)
赞赏(0)


 下载 1298
 赞赏 0
赞赏 0

 下载 10004


 赞赏 0
赞赏 0


 赞赏
赞赏

 京公网安备:11010802035340号